
There’s nothing quite like a little trim work to give your walls some extra depth and drama. When we set out to refresh our entryway, we wanted something that felt classic, had character, and was just the right amount of extra—without being too extra. Enter beadboard and trim! This simple upgrade made a huge impact, and today, I’m walking you through exactly how we did it so you can recreate the look in your own home.
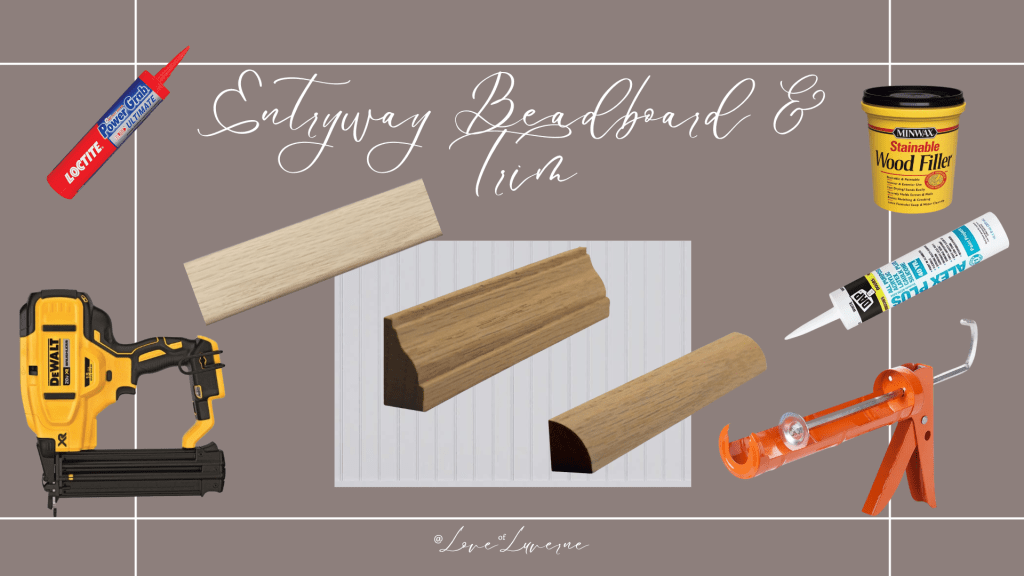
Materials You’ll Need:
We picked up all our materials at Home Depot, but you can also find them on Amazon (I’ll add links and SKUs for easy shopping!).
- Beadboard Panel (We only needed one, but measure your space to be sure!) – Home Depot (SKU: 0000-975-759)
- Tip: we have seen many people use a paintable beadboard wallpaper online, but have heard mixed reviews. To avoid any issues, we purchased this type of panel.
- “Oak Shoe” Wood Trim – Home Depot (SKU: 0000-214-424)
- Quarter Round Wood Trim – Home Depot (SKU: 000-851-809)
- Flat Top Trim (We made our own by cutting down some extra wood, but you can purchase similar options!)
- Construction Adhesive
- Nail Gun + Nails
- Caulk + Caulk Gun (For filling gaps and making everything seamless)
- Wood Filler
- Sandpaper
- Paint + Paintbrush/Roller
Step-by-Step Guide
1. Measure & Cut Your Beadboard
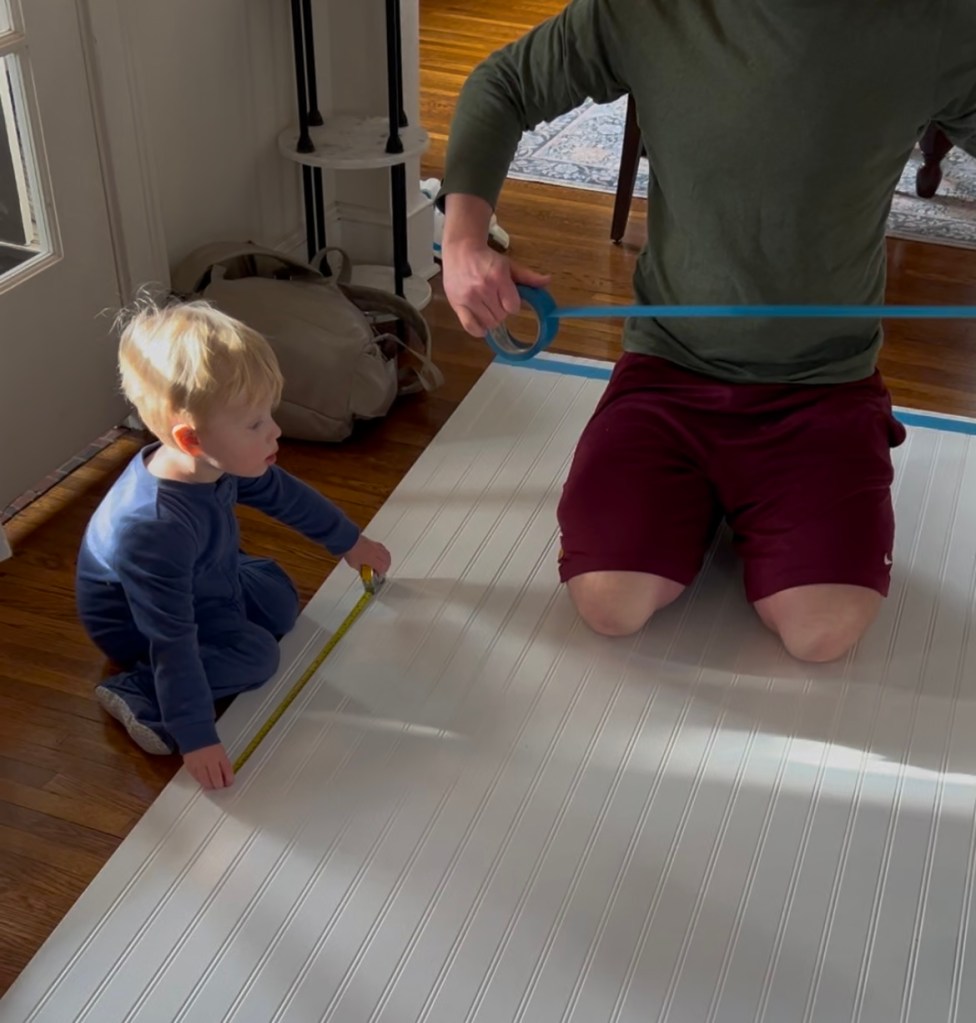
Start by measuring your wall space and cutting the beadboard to size. We only needed one panel, but your space might require more. If your beadboard needs to go around existing trim, outlets, or light switches, use a jigsaw to notch out those areas for a perfect fit.
Tip: we taped the the cut line on the beadboard to protect and limit the tearing from the saw. That way the finished side of the beadboard could stay looking beautiful!
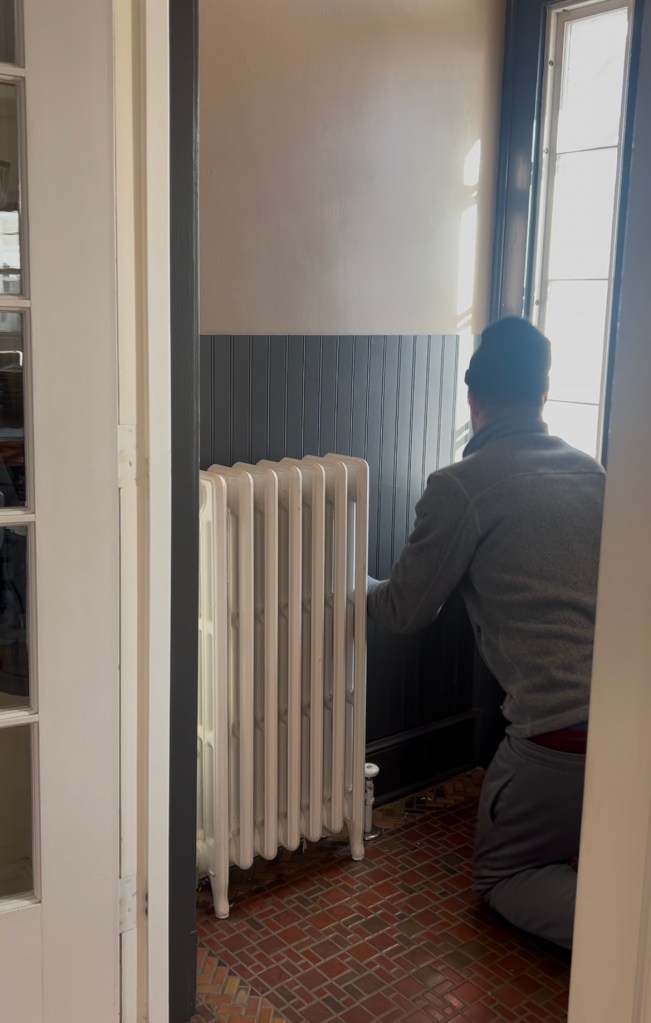
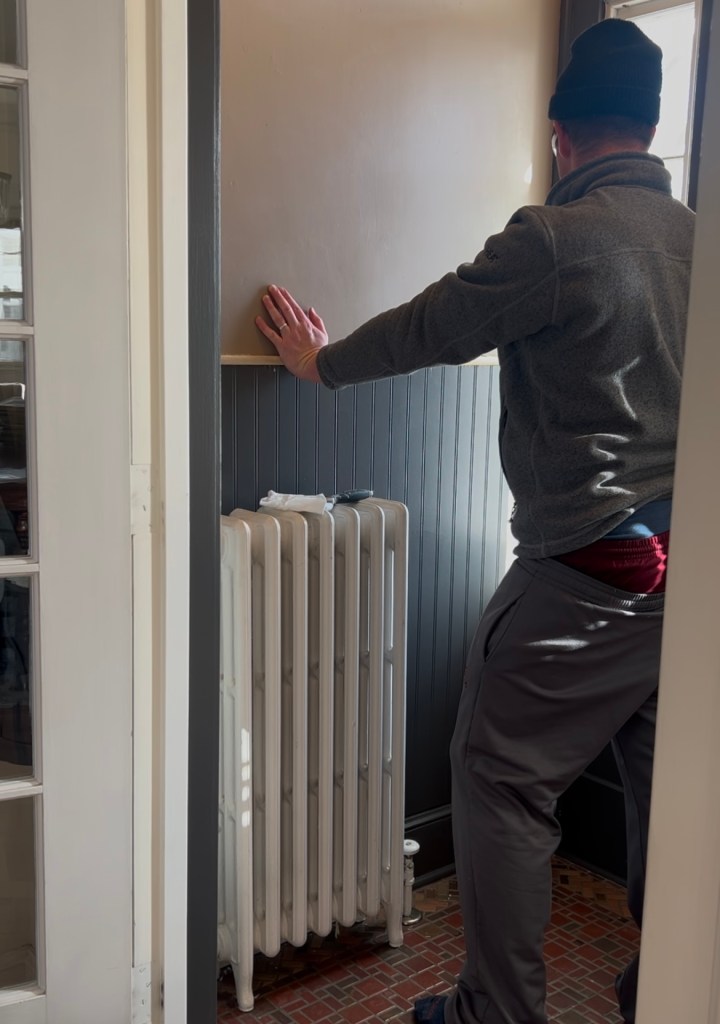
2. Attach the Beadboard to the Wall
We secured our beadboard using only construction adhesive, as it provides a strong hold and keeps everything snug and flat. We chose not to use a nail gun because it wasn’t necessary, and since our home has old plaster walls from the 1920s, we were concerned that the force could cause them to shatter. Press firmly and check for any gaps along the edges to ensure a seamless finish.
3. Cut & Attach the Trim
This is where the magic happens! We added layers of trim to frame out the beadboard and make it look intentional and polished.
- Flat Top Trim: For this piece, we cut down a piece of wood we already had on-hand to get the right size for a small shelf. There are many different options for this, so feel free to use whatever fits best in your space.
- Quarter Round Trim: Cut the corners at a 45-degree angle so they fit together seamlessly.
- Oak Shoe Trim: This goes along the bottom edge to create a finished transition.
- Tip: for all of the trim pieces, we cut out little notches in the wood to make sure it would fit “flush” with the other door and closet trim in the room. This method is called “coping” and Carlton stole some of Graham’s Play-Doh to make a mould of the shape. Pretty snazzy, Carlton!
4. Fill, Sand & Caulk
Once all the trim is secured, it’s time to make it look flawless. Fill all nail holes with wood filler, let it dry, and sand it smooth. Then, use caulk to seal any small gaps between the beadboard and the trim for a seamless, built-in look.
5. Paint & Admire
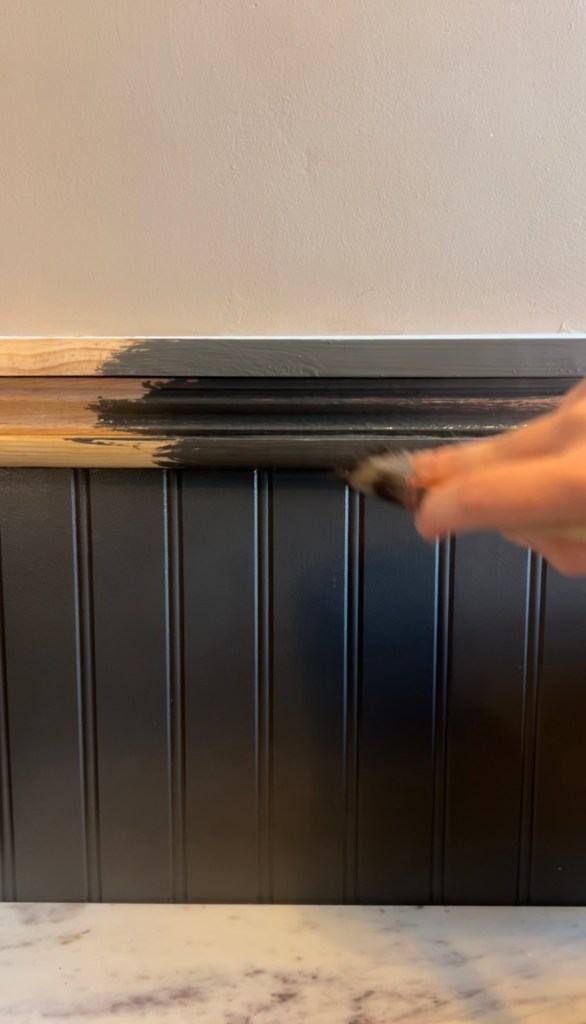
The final step is painting! We went with a classic shade that complements our entryway, and it truly tied everything together. A good-quality paint will make all the difference here, so don’t skimp on this part! We purchased cabinet paint from Home Depot.
The Finished Look
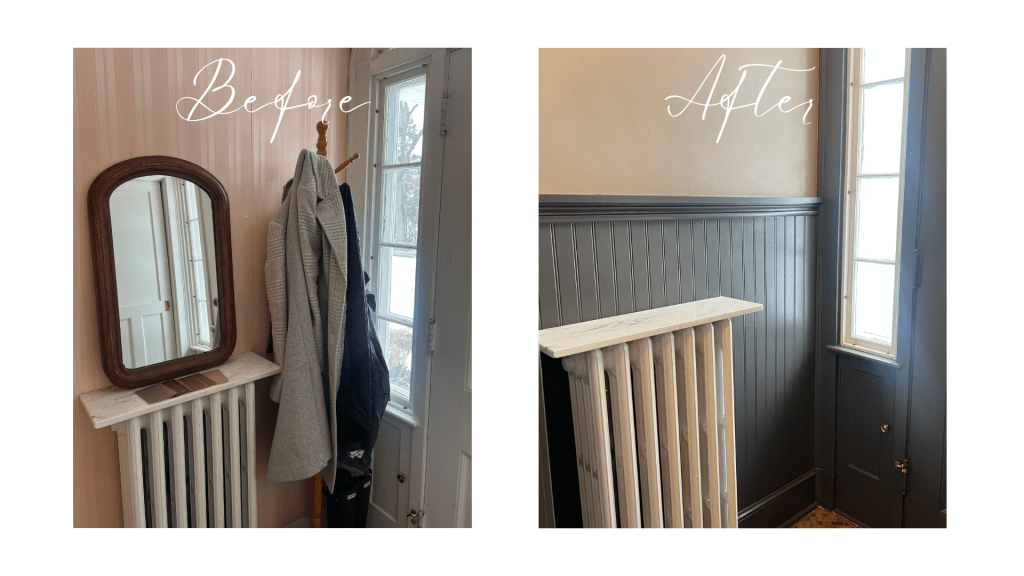
This project turned our once-plain entryway into a warm, inviting space that feels intentional and full of character. The added depth and texture make such a difference, and the best part? It’s a totally doable weekend project that brings a major payoff.
If you give this a try, let me know—I’d love to see how it turns out in your home!
Don’t forget to shop all of the links mentioned in this blog by heading over to our Shop With Us page!


Leave a comment